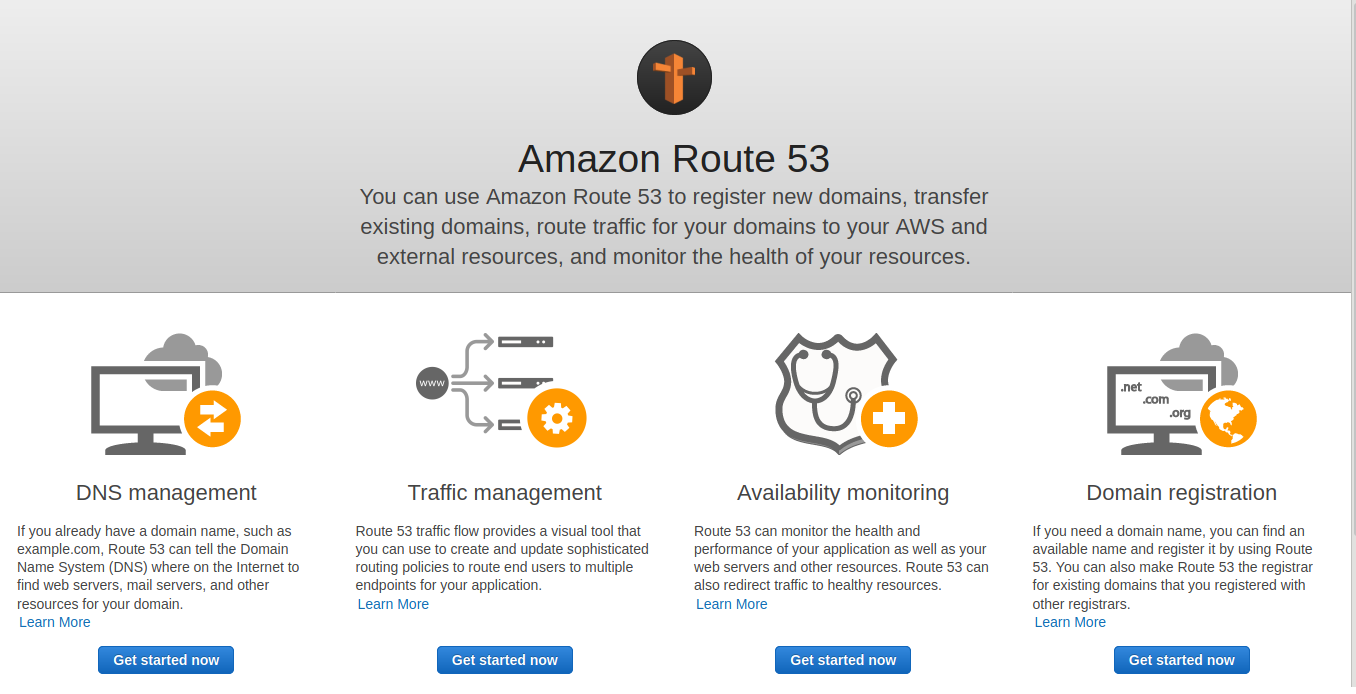
AWS Route 53 is a DNS (Domain Name System) service available in the Amazon Web Services. Its high availability and scalability allow reliable translations between domain names and IP addresses, with effectiveness in the cost and service provided. Route 53 can also be used to register your domain name, and that is what we are going to accomplish at the end of this post. So let's get started!
- With your AWS account logged in, open the Amazon Route 53 console
- You should see this page by clicking on the link. If not, ensure your AWS account is logged in. Those are the services available for Amazon Route 53, and since our goal is to have registered a domain at the end of this article, click on the last service, "Domain registration"
- At the top of the page, there will be three buttons, with domain services Route 53 provides: "Register Domain", "Transfer Domain", and "Domain Billing Report". We are going with "Register Domain" for this tutorial
- We now need to decide the domain name. Since domain names need to be unique globally, you won't be able to set the same as we are going to use, so set the domain you would like to have in that input
- The next step is setting the extension. It can be set by selecting one of the options in the
dropdown, so select the desired one from the options available. Be mindful that different
extensions, like
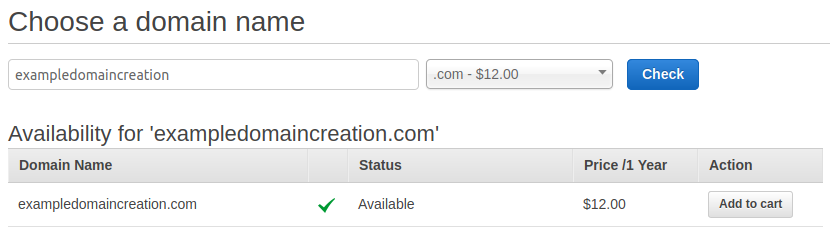
.comand.io, have different prices and specifications. You can find each of them and their specifications in the Route 53 domain specification - Click "Check" to validate if the domain name plus extension provided is available to be registered
- If your combination is available, the console should look like this, with your configurations:
- If everything is as expected, click on "Add to cart" to select this domain. Note that other domains will appear as suggestions on a second table, and this can be used to give you options if the one you wanted was already taken
- In the shopping cart, at the right side of your screen, you can remove a domain previously added, select the duration of the registration as well as see the subtotal. It will now have the domain you want to register, and should look like this, with your settings:

- If everything seems correct, below the available domains table there is a "Continue" button, so let's continue the process
- At this stage, contact details will be required. You need to set Registrant, Administrative and Technical contacts, but to make life easier, there is a button to assign the Registrant as all three roles. We are going to use it, so we will need to fill this form only once. If this does not apply to you or your company, you can set "No" in this option to have three forms to fill
- After filling the form with your personal information, click "Continue" at the bottom of the screen
- Now, we are going to the last stage before your domain gets registered. First of all, we need to check if all the contact information provided is correct
- In the second section, AWS will describe the management of your new domain regarding DNS, explaining about host zone creation and DNS queries pricing
- The third section clarifies auto-renew for your domain, with a checkbox for you whether you want it to be automatically renewed yearly or not
- And the last section, "Terms and Conditions", is the contract you agree with when buying Amazon Route 53 services. You need to mark the checkbox to complete your order. Note that you cannot register your domain if you do not have a verified AWS account. If this is the case, Amazon will send you a verification email. After verifying, you then will be able to finish the registration process by clicking "Complete Order"
Now that you have finished the process, AWS will start handling the registration of your domain in all the internet entities they need to, and an email will be sent to all the members assigned in the contact section with updates about the registration status. The domain registration process duration may vary depending on some factors, like payment approval, but it usually takes up to two hours.
We hope that this guide eases the registration process of your domain in Route 53 for you and your organization, and if you are thinking about publishing a service in that domain, consider having a chat with us, and we will make your projects become products!